How do I inspect my small engine muffler for repair or replacement?
Small engine noise is caused by hot gases being forced out of the cylinder during each exhaust stroke. A muffler’s job is to reduce that exhaust noise and to prevent exhaust sparks from existing and igniting dry grass, leaves or debris.
After a season or two, soot build-up and cracks or holes can cause the muffler to stop working properly. Read our step-by-step guide to inspecting and replacing mufflers or skip to the most relevant section below:
How to Inspect Mufflers for Repair or Replacement
How to Remove and Replace a Muffler
How to Remove a Rusty Muffler
Review your Briggs & Stratton Manual for product-specific info and safety precautions. Your local Briggs & Stratton Engine Repair Dealer is also a great resource to help perform muffler replacement.
![]() WARNING: Engine parts, especially muffler, become extremely hot. Severe thermal burns can occur on contact. Allow muffler, engine cylinder and fins to cool before touching. Find all Engine Safety Warnings
WARNING: Engine parts, especially muffler, become extremely hot. Severe thermal burns can occur on contact. Allow muffler, engine cylinder and fins to cool before touching. Find all Engine Safety Warnings
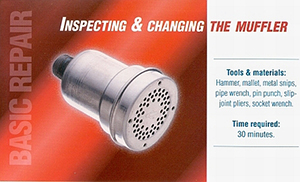
- Locate your small engine muffler, which is usually near the cylinder head.
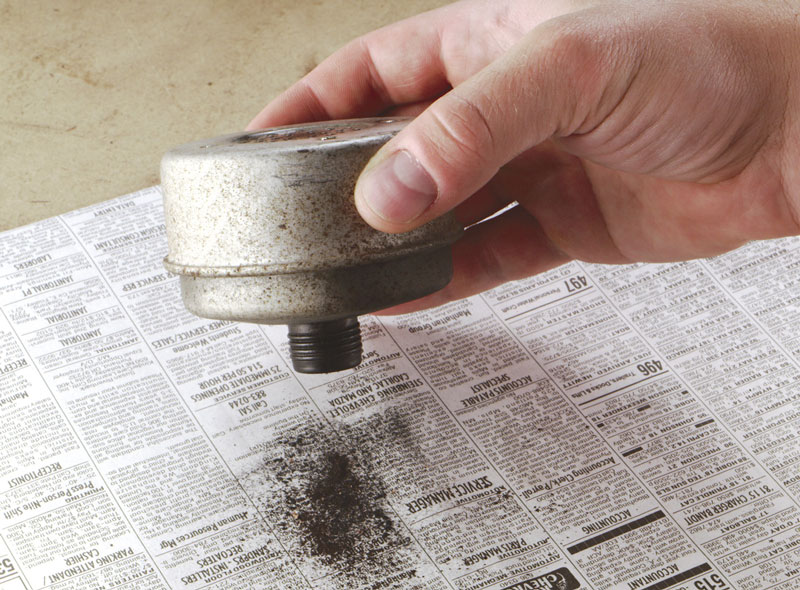
- To determine if your muffler needs to be replaced, remove the muffler (cold) and shake it; there should be little or no noise heard, and limited amount of rust/debris coming from the inside. If a significant amount of noise and/or debris results from shaking, the muffler has probably deteriorated inside & is in need of replacement.
- Check the outside of the muffler for signs of rust, dents, holes or cracks, any of which can restrict the exhaust and reduce the effectiveness of the muffler.
The muffler body may be attached directly to your small engine with mounting bolts or screwed into the engine body. On some mufflers, an extended pipe threads into the engine.
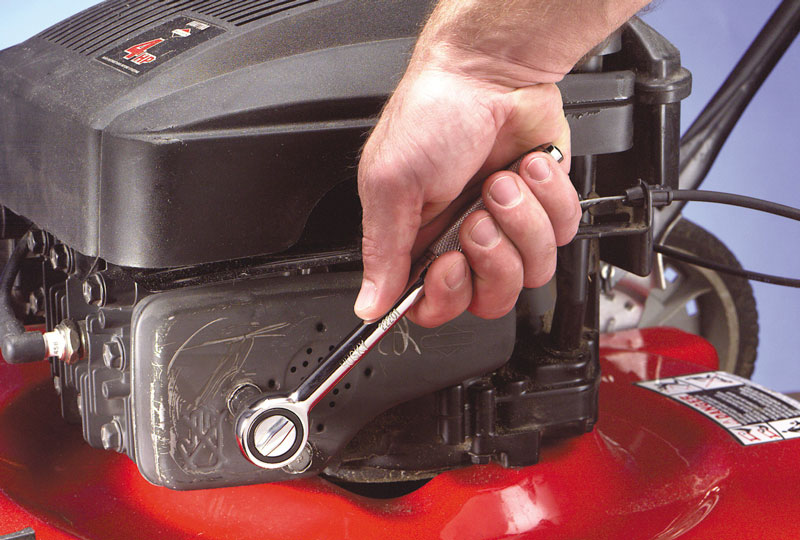
- Step 1a: If the muffler is attached with mounting bolts and has locking tabs around the bolts, bend the tabs back far enough to fit a wrench over the bolt heads. Remove bolts from the muffler and detach the muffler.
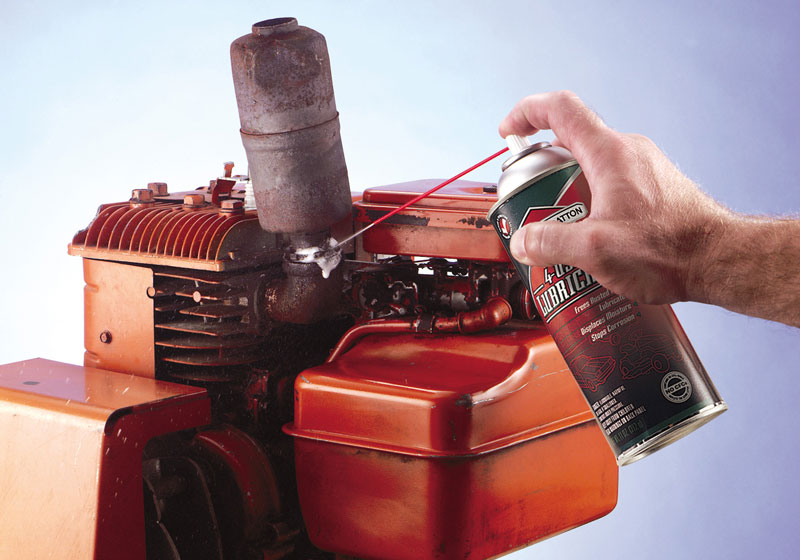
- Step 1b: If the muffler screws directly into the engine, apply penetrating oil to the engine threads and let the oil work for several minutes. Tip the engine very slightly, if necessary to allow the oil to reach the threads. NOTE: Don't tip the engine sharply. This can cause oil to drain into the carburetor and air cleaner.
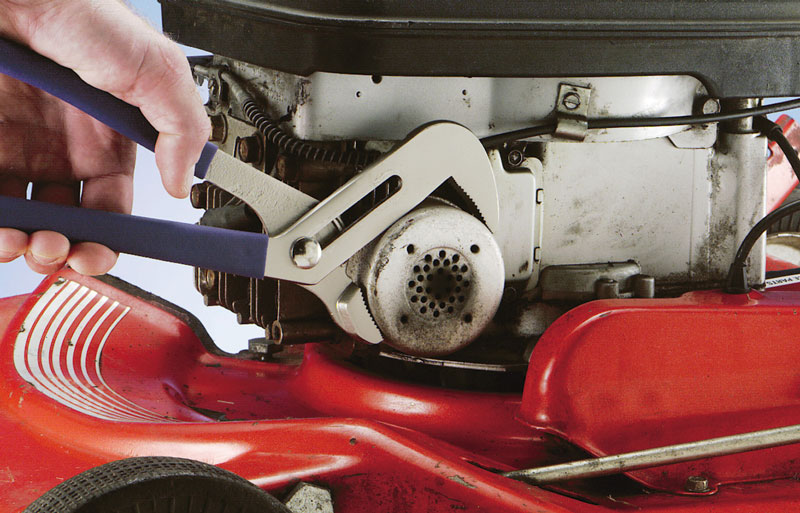
- Step 1c: Some small engine mufflers are fastened with a threaded lock ring. Loosen it by tapping it counterclockwise with a hammer and pin punch. Then, grasp the muffler with slip-joint pliers and unscrew the threaded lock ring counterclockwise
- Step 2: To check for soot, tap the muffler body with a mallet or on a hard surface. If the muffler is damaged or large quantities of soot cannot be dislodged, replace the muffler with small engine replacement parts from the original manufacturer. If the muffler is in good condition, reattach it.
- Step 3: Don't over-tighten your new replacement muffler. If a lock ring is used, install it using a hammer and pin punch. NOTE: The smooth side of the lock ring must be against the cylinder in aluminum-block engines. The tooth side must be against the cylinder in cast-iron engines.
- Step 4: Brush the entire area to clear away dirt and debris. If left on the muffler, dried grass clippings and other debris can catch fire on the hot surface of the muffler.
Note: Rusty mufflers can break and cut you if you don’t take caution during replacement.
A very rusty muffler may collapse or crumble as you twist it with a wrench when replacing the engine part. There's no harm done as long as you don’t damage the muffler mounting threads in the engine block or other muffler fittings on the engine.
- If your muffler screws into the engine, cut the muffler body off with metal snips. Then, grasp the stem, using slip-joint pliers, and unscrew the muffler
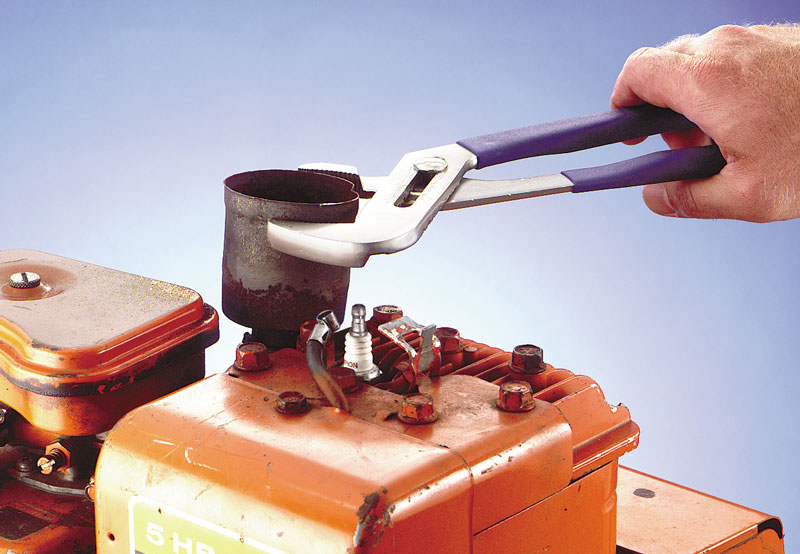
- If the muffler breaks off, leaving a connecting pipe attached to the engine, grasp the pipe with slip-joint pliers and unscrew
If you wish to perform this replacement yourself, a good source for engine specifications and technical servicing information would be a Briggs & Stratton Repair Manual. The correct Repair Manual for your model engine is often listed in your engine's Illustrated Parts List.


