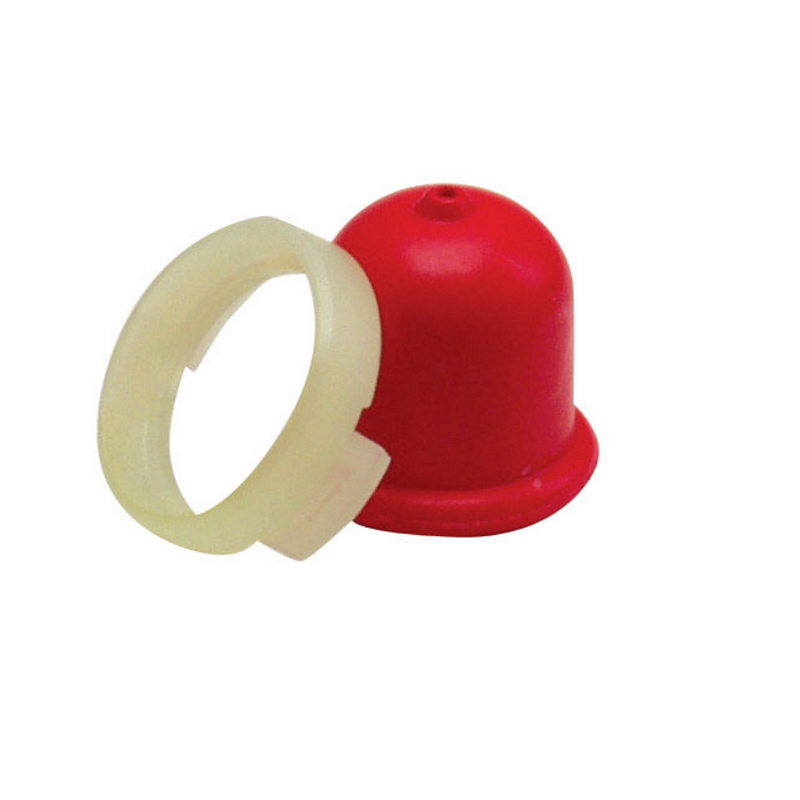
How to perform primer bulb replacement in a small engine?
Quick Links:
A primer bulb is important because it helps to fill the carburetor with the correct amount of fuel.
You may need to fix or replace your primer bulb if:
- It is not creating proper suction/pressure
- It has a crack in it
- It is not creating pressure when you press it
Briggs and Stratton primer bulb replacements are available for purchase online for Sprint or Quattro bulbs, and Quantum engine bulbs.
- Press in from both sides of primer bulb cavity to release retainer tabs.
- Pry retainer out and remove bulb from primer seat groove.
- Remove the primer seat using a crochet hook or other type of hook. The ball and spring will fall out. NOTE: Do not stretch, bend or compress primer spring.
- Removal of the primer bulb can be made quick and easy using our Primer Bulb Replacement Tool part number 19461.
- Place the primer spring and ball (if equipped) in the primer valve bore.
- Press the primer seat into the bore with the groove on seat facing out.
- Insert primer bulb into retainer and moisten inside diameter of primer bulb.
- Press into the primer cavity lining up locking tabs with the locking slot into cavity.
- Press until both tabs are re-seated in locking slots.
- Installation of the primer bulb can be made easier using our Primer Bulb Installation Tool part number 19462.
WARNING: Always read the engine and equipment manual(s) before starting, operating, or servicing your engine or equipment to avoid personal injury or property damage. Fuel and its vapors are extremely flammable and explosive. Always handle fuel with extreme care.
See an authorized dealer if you are unsure of any procedure or have additional questions.
Shop Related Maintenance Parts
HOW-TO ARTICLES
Learn how to properly and safely use, troubleshoot and maintain your Briggs & Stratton equipment.
VIDEOS
Learn about the latest products, step-by-step instructions on how to locate your engine model number and more.


